

 Deutsch
 español
 Português
 日本
日本
Categories
Latest Blog
- 2024 Year-End Summary: Gratitude and Outlook
- Pandasolar Showcases Solar Mounts At The PV EXPO In Japan,Tokyo
- Merry Christmas!!!
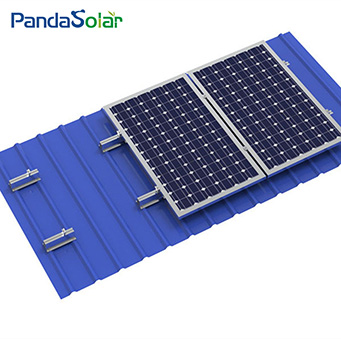
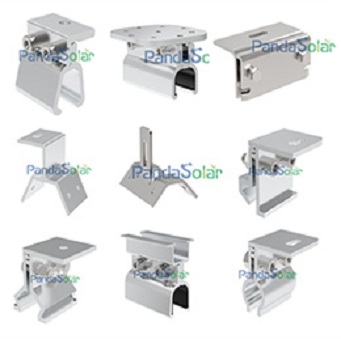
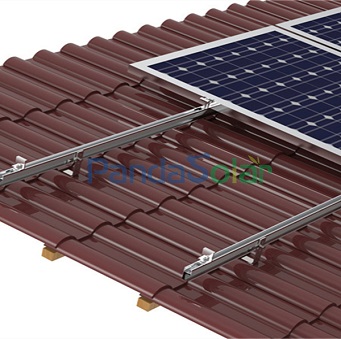
- SOLAR SHORT RAIL MONTAGE SYSTEM INTRODUCTION
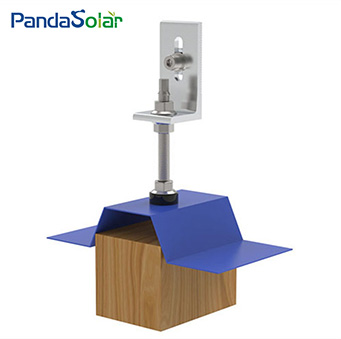
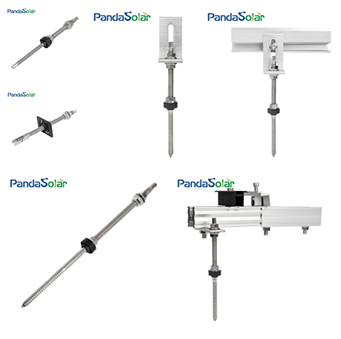
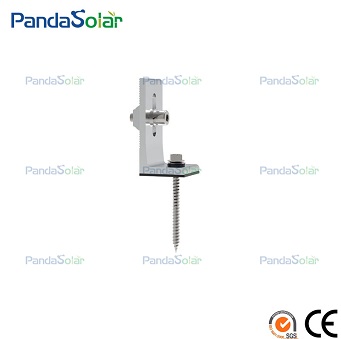
- ADVANTAGES OF USING SOLAR HANGER BOLT
- Solar Hanger Bolts: The Durable Solution for Mounting Solar Panels
- Solar Kliplok Installation Guide
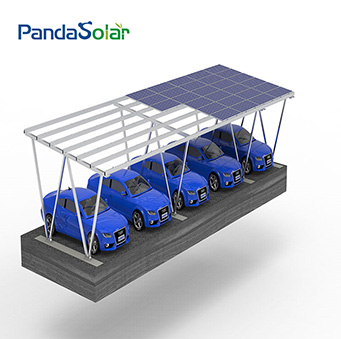
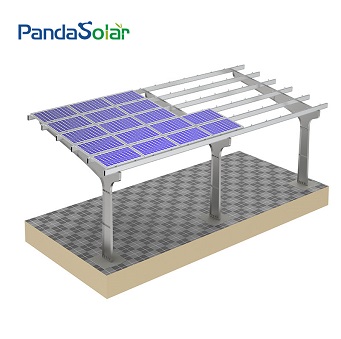
- How to properly install solar aluminum carport system
Tags


 IPv6 network supported